7 Essentials to Write & Organize in Notion (Block Basics)
Based on Irfan Bhanji's video on YouTube. If you like this content, support the original creators by watching, liking and subscribing to their content.
Treat highlighted elements as blocks so you can drag to reorder outlines without rebuilding structure.
Briefing
Notion’s biggest writing advantage isn’t just formatting—it’s how quickly blocks can be rearranged and transformed while you draft. By treating every highlighted element as a “block,” writers can drag bullet points, subheaders, and entire sections to reorder an outline in seconds. Arrow keys make block selection fast, and moving one item automatically updates its surrounding structure (for example, a moved bullet can become a different lettered item while preserving the list’s logic). This turns outlining into a fluid workflow: draft ideas, shuffle them into a better order, and keep momentum without rebuilding the document.
That speed is reinforced by a set of block-level essentials. Header toggles let writers collapse large sections under a single heading—using hashtags for simple headers (one hashtag for header one, two for header two) and toggle headers for “chapter” style organization. Instead of scattering notes across many pages, a writer can build a master project and tuck related content inside toggle sections, duplicating toggles (e.g., Chapter 1, Chapter 2, Chapter 3) to scale the structure.
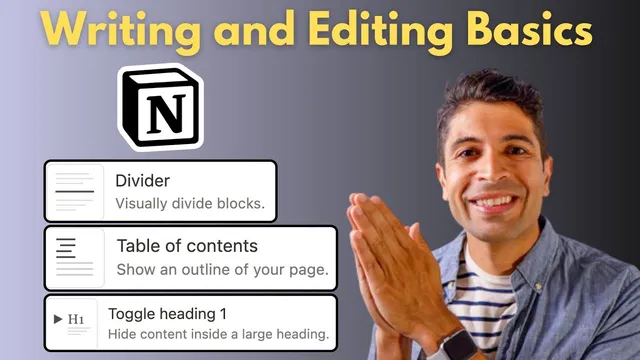
When a document grows, navigation becomes the next problem—and Notion’s table of contents solves it with minimal effort. Typing “/table of contents” inserts a clickable index that lists chapters and lets readers jump instantly to each section. Returning to the top is also quick: clicking the note title area brings the user back to the beginning, keeping long documents from feeling cumbersome.
Organization also benefits from simple visual and layout tools. Divider lines can be inserted via “/divider” or created on the fly with a shortcut: typing three dashes produces a divider automatically. For side-by-side comparisons, Notion supports up to five columns; switching the page to full width gives more room, and “/column” (or “/2” and “/3” for a specific count) creates multiple column blocks. This makes pros-and-cons lists and structured comparisons easier to scan.
Finally, Notion speeds up editing and follow-through with two block features. The “turn” command quickly converts one block type into another without using the mouse—turning text into headings (including heading three) or converting headings back to plain text. The “@” function adds action and context: it can create reminders (e.g., “next Friday,” which turns blue when scheduled and red if overdue) and link to pages. Linked pages also support hover previews, making cross-referencing faster.
Taken together, these essentials—block dragging, toggle headers, table of contents, divider shortcuts, columns, “turn” conversions, and “@” reminders/links—aim at one outcome: writing and organizing in Notion feels like thinking on the fly, with structure added as you go rather than after the fact.
Cornell Notes
Notion’s core writing workflow centers on blocks: anything highlighted behaves as a movable unit. Dragging blocks lets writers reorder outlines instantly, and arrow keys speed up selection. Toggle headers (created with hashtags and toggle-style headings) allow large sections—like chapters—to collapse under a single heading, supporting a “master project” approach instead of many separate pages. As documents expand, a “/table of contents” block provides clickable navigation to each chapter, while divider lines and columns improve visual structure and scanning. The “turn” command converts block types quickly, and “@” adds reminders and page links with hover previews.
How does Notion make outlining faster while drafting?
What are header toggles, and why are they useful for organizing notes?
How can a long Notion document provide quick navigation to sections?
What shortcuts help with visual separation and layout?
How do “turn” and “@” speed up editing and follow-through?
Review Questions
- When rearranging an outline in Notion, what makes blocks easy to move and reorder quickly?
- How would you structure a multi-chapter note using toggle headers and a table of contents?
- What are two ways to create divider lines and two ways to improve scanning with layout tools like columns?
Key Points
- 1
Treat highlighted elements as blocks so you can drag to reorder outlines without rebuilding structure.
- 2
Use toggle headers to collapse large sections (like chapters) and keep related notes inside a single master page.
- 3
Insert “/table of contents” to generate clickable navigation for each header section in long documents.
- 4
Create divider lines either with “/divider” or by typing three dashes for an automatic separator.
- 5
Use columns (up to five) for side-by-side comparisons, and switch to full width for more room.
- 6
Convert block types quickly with the “turn” command to switch between text and headings without mouse work.
- 7
Use “@” for reminders and page links, including hover previews for faster cross-referencing.