Build a Time Sheet Template in Notion | Full Step-by-Step Tutorial
Based on The Organized Notebook's video on YouTube. If you like this content, support the original creators by watching, liking and subscribing to their content.
Create an inline Notion database for timesheet entries with task, start time, and end time properties.
Briefing
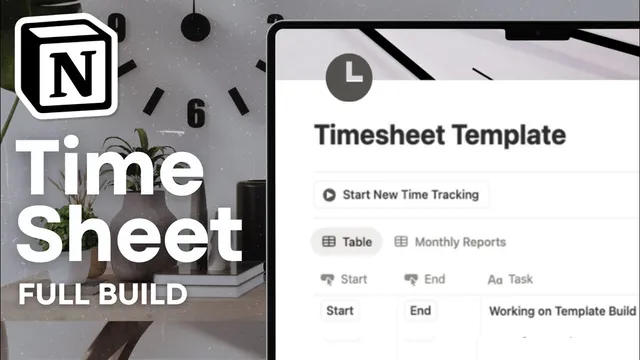
A Notion timesheet can be built into a mostly one-click workflow by combining inline databases with button automations that stamp start and end times, then calculating billable hours from those timestamps. The setup starts with a clean Notion page titled “timesheet template,” optionally dressed with an icon and a cover image, then switches to an inline database named “timesheet.” Inside that database, each entry represents a task (example: “answering client questions”) and includes start time and end time properties.
The key productivity upgrade is automation via two button properties. A “start” button triggers an automation that edits the “start time” field to the exact moment the button is clicked. An “end” button does the same for the “end time” field. This removes manual typing and makes time tracking fast enough to use consistently. A third button—“start new time tracking”—creates a new task page in the same database and pre-fills the start time using the click timestamp, so users can begin tracking immediately without creating entries by hand. To keep the most recent work visible, the database view is sorted by start time in descending order.
Once timestamps are captured, the hours calculation is handled with a formula property called “hours.” The method uses Notion’s date-between logic to measure the time between end time and start time, then converts minutes into fractional hours by dividing by 60. The transcript highlights a practical reason for this approach: relying on date-between alone can round in ways that distort results, while the minutes-to-hours conversion preserves accuracy (for example, 4:30 p.m. to a 3:00 p.m. start yields 1.5 hours). To support totals across multiple tasks, a “calculate” aggregation is added using a sum, producing a running total of tracked hours for the current view.
The template also scales beyond a single daily log. Entries can be grouped by a “select” tag (such as “building” vs. “admin work”) and then aggregated with summed hours, making it easy to compare time allocation by category. For longer-term reporting, tasks can be duplicated into separate databases (e.g., “monthly report”) and grouped by month using the start date, producing a month-by-month breakdown.
For teams or billing workflows, the transcript points to a pre-made Notion timesheet template available on the store, featuring in-progress task views, monthly overviews, and a “view all” of entries. That version also includes built-in billable hour logic based on billable vs. non-billable tagging, plus reporting by person—showing who spent how much time on each task and category. Overall, the core takeaway is that Notion’s database + automation + formula tools can turn time tracking into a structured system with accurate hour math and flexible reporting dimensions (by task, category, month, and person).
Cornell Notes
The timesheet template is built around an inline Notion database where each row is a task with start time and end time fields. Two button automations stamp those fields with the exact click time, and a third button creates a new task entry while pre-filling the start time. A formula property calculates “hours” by taking the time between end and start, converting minutes to hours by dividing by 60 to avoid rounding issues. Aggregations (sum) let totals update across multiple tasks. The same structure can be expanded with tags for grouping (e.g., building vs. admin) and month-based grouping using the start date for reporting.
How do the start and end buttons make time tracking faster in Notion?
Why does the hours formula convert minutes to hours instead of relying on date-between alone?
What does the “sum” calculation add to the template’s usefulness?
How can the template show time allocation by category (like building vs. admin work)?
How does month-based reporting work in this setup?
Review Questions
- What exact properties and automations are required to stamp start time and end time when buttons are clicked?
- Write the logic behind the hours formula: what is measured and how is it converted into hours?
- How would you modify the template to report total time by client instead of by category?
Key Points
- 1
Create an inline Notion database for timesheet entries with task, start time, and end time properties.
- 2
Use button automations so clicking “start” stamps the start time and clicking “end” stamps the end time automatically.
- 3
Add a “start new time tracking” button that creates a new task page and pre-fills start time using the click timestamp.
- 4
Calculate hours with a formula that converts the date-between minutes into hours by dividing by 60 to avoid rounding issues.
- 5
Use sum aggregation on the hours property to maintain running totals across multiple tasks.
- 6
Expand reporting by adding select tags and grouping views to sum hours by category.
- 7
Duplicate and group by month using the start date to produce monthly overviews.