How to build This INTERACTIVE Map View in Obsidian.md
Based on Karlos Obsidian Tutorials's video on YouTube. If you like this content, support the original creators by watching, liking and subscribing to their content.
Install the official Obsidian “maps” community plugin to enable map view functionality inside bases.
Briefing
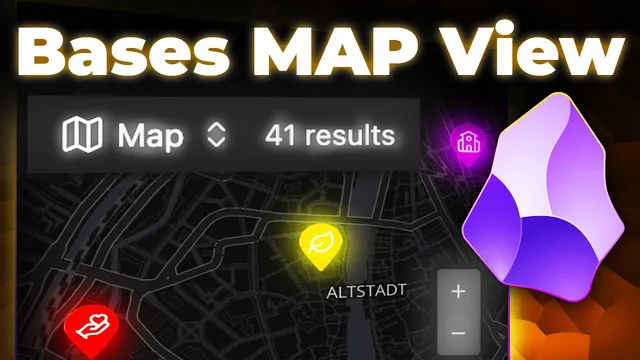
Obsidian’s new “basis map view” turns plain travel notes into an interactive, filterable map—complete with custom waypoint icons, colors, hover tooltips, and even embedded links to other notes. The payoff is straightforward: instead of scrolling through text, readers can visually explore where each entry happened, click through locations, and surface key metadata (like ratings, descriptions, and visit dates) directly on the map.
Setting it up starts with installing the official Obsidian community plugin named “maps,” which adds the map view capability inside a vault. From there, the workflow is to create a new base file (renamed to something like “Zurich map view”), then configure a specific “map view” inside that base. The view is scoped using filters so it only pulls files from the intended folder—here, the “travel notes/Zurich” subdirectory—ensuring the map stays focused on the right set of location notes.
Next comes the map’s default framing. The map is manually positioned by dragging to the desired region (Zurich) and zooming until the city sits centered. Two context settings then lock that viewpoint in place: “set default center point” and “set default zoom.” Without these, reopening the base would revert to a generic starting location.
Waypoints are added by copying coordinates from the interactive map. For each place note (for example, “ETH Zurich”), the note’s front matter gains a “coordinates” property typed as a list so multiple coordinate pairs can be stored. The transcript also shows how to enrich each waypoint: a numeric “rating,” an “icon” property (icons sourced from Lucide), and a “color” property to style the marker. To make hover popups useful, additional properties like “description” and “last visited” are added, then enabled in the map view’s “properties” display settings. The order of fields in the hover tooltip can be adjusted by rearranging which properties appear first.
Customization goes beyond markers. The map view’s display settings can constrain zoom levels (raising the minimum zoom and lowering the maximum zoom) to keep the experience focused on the intended scale. Map tile styling can be swapped by adding a tile URL—such as OpenFreeMap’s dark style—or other styles like “positron” or “liberty,” giving the map a cleaner or more thematic look.
Finally, the map becomes a navigation hub. Location notes can include a “links” property, and the map view can surface those links on hover so users can jump directly to related notes (like an “animals” node). The entire map view can also be embedded into another note using an Obsidian link with an exclamation mark, and the embed size can be increased via the view settings (e.g., raising embed height to 600). The result is a reusable, visually grounded travel system that stays connected to the rest of the knowledge base.
Cornell Notes
An Obsidian “basis map view” can display location notes on an interactive map, using folder filters to include only the right entries. The map’s default center and zoom are set by positioning Zurich manually, then saving the center point and zoom so reopening keeps the same framing. Each place note stores coordinates in front matter (as a list), and marker appearance is driven by properties like rating, icon (from Lucide), and color. Hover tooltips are controlled by enabling specific properties in the map view, and their order can be adjusted. The map can also embed into other notes and expose clickable links via a “links” property, turning the map into a navigation layer.
How does the map view decide which notes belong on the map?
What’s the process for making the map open centered on Zurich every time?
How are waypoint coordinates added to a place note?
How do marker icons and colors get customized?
How are hover popups configured to show the right information in the right order?
How can the map view link out to other notes and be embedded elsewhere?
Review Questions
- What two settings must be saved to keep the map centered and zoomed correctly after reopening the base?
- Why is the “coordinates” property set up as a list in the place note’s front matter?
- Which properties must be enabled in the map view to make hover tooltips display rating, description, and last visited?
Key Points
- 1
Install the official Obsidian “maps” community plugin to enable map view functionality inside bases.
- 2
Create a new base (e.g., “Zurich map view”) and configure a “map view” with a folder-path filter so only the intended travel notes appear.
- 3
Manually position the map on Zurich, then use “set default center point” and “set default zoom” so reopening preserves the same viewpoint.
- 4
Add front matter to each location note with a “coordinates” property (as a list), plus optional styling properties like “rating,” “icon” (Lucide), and “color.”
- 5
Enable the desired properties under the map view’s “properties” display settings to control what appears on hover, and adjust their order for readability.
- 6
Customize map behavior with zoom constraints and tile styling via map tile URLs (e.g., OpenFreeMap dark style).
- 7
Use a “links” property in place notes to make markers open related notes, and embed the map view into other notes with an exclamation-mark link.