How to create Google Scholar Profile/ID? | Step-by-Step | eSupport for Research |2022|Dr. Akash Bhoi
Based on eSupport for Research's video on YouTube. If you like this content, support the original creators by watching, liking and subscribing to their content.
Sign in to scholar.google.com using the Gmail account you want your Google Scholar profile to be tied to.
Briefing
Creating (or switching) a Google Scholar profile hinges on one practical step: signing in to Scholar with the Gmail account you want to use, then completing a three-stage profile setup so Scholar can link your publications to the correct identity. The payoff is a profile that stays current—citations, metrics, and author records update automatically as Scholar finds matching papers.
The process starts at scholar.google.com, where the user clicks Sign in and selects the desired Gmail account. If that account doesn’t already have a Scholar profile, Scholar guides the user into profile creation. After signing in, the user goes to My profile and works through three stages: (1) Profile page details, (2) Article selection, and (3) Settings. In the profile page stage, key identity fields are filled in, including name and optional salutation (for example, adding “Dr.”), affiliation, and research interests. A homepage can also be set (optional), and the user proceeds to the next step once the profile information is complete.
The article stage is where accuracy matters. Scholar may list a set of publications it thinks belong to the account, but similar author names can cause incorrect matches. The recommended approach is to review the papers one by one (even if Scholar offers a “select all” option) to ensure each item is truly authored by the user. Selecting incorrect papers can inflate citations and distort the profile’s record, leading to false attribution.
After article selection, the settings stage determines how changes are applied. Scholar can automatically apply updates, or the user can require review before items appear publicly. The user can also choose whether to keep the profile private while verifying the publication list, then switch to public only after confirming the author record is correct.
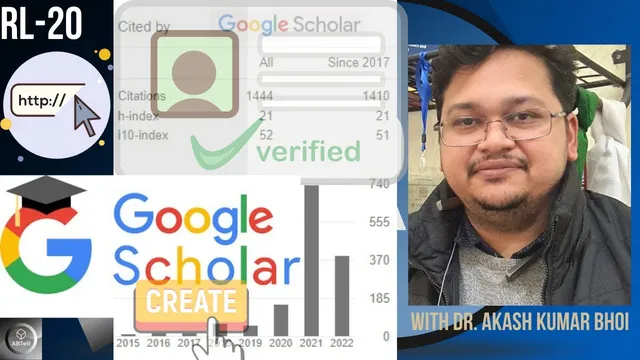
Once the profile is created, the user can add a profile photo and then verify the email address. Scholar sends a verification email; the user must open the email and click Verify email address to complete the setup. After verification, the profile becomes active and Scholar begins updating metrics such as the h-index and i10-index, though recently added citations or co-author information may take time to appear.
For people who already have a Scholar ID but want to move to a new Gmail account, the same workflow applies: sign in with the new Gmail, create a new Scholar profile, verify the email, and then carefully confirm the publication list to avoid misattribution. The result is a clean, reliable author identity tied to the correct email and publication record.
Cornell Notes
A Google Scholar profile is created by signing into scholar.google.com with the Gmail account you want to use, then completing a three-step setup in My profile: fill in the Profile page, confirm the Article list, and finish the Settings. The most important step is reviewing publications Scholar suggests, because similar author names can cause incorrect papers to be attached—leading to false citations. Users can keep the profile private while verifying, then make it public once the author record is accurate. After setup, Scholar sends an email verification link; clicking Verify email address activates the profile and allows metrics like h-index and i10-index to update.
What are the three stages in Google Scholar profile creation, and what happens in each?
Why is reviewing the suggested article list so important?
How can a user control whether updates appear immediately or after review?
What does email verification do, and how is it completed?
What metrics may update after the profile is created, and what might be missing at first?
Review Questions
- What specific errors can occur if a user selects all suggested articles without verifying authorship?
- Which Settings choice helps keep a profile private while confirming the publication list?
- What steps are required after profile creation to complete activation through email verification?
Key Points
- 1
Sign in to scholar.google.com using the Gmail account you want your Google Scholar profile to be tied to.
- 2
Complete the three stages in My profile: Profile page details, Article selection, and Settings.
- 3
Verify each suggested publication to avoid misattribution caused by similar author names.
- 4
Use the Settings options to control whether updates apply automatically or require review before appearing.
- 5
Keep the profile private while confirming accuracy, then switch to public only after verification.
- 6
Verify the email address by clicking the link in the Google Scholar verification email to activate the profile.
- 7
Expect metrics like h-index and i10-index to update after activation, but recent citations or co-author data may take time.