How to Integrate Your E-mails With Obsidian Using Webhooks
Based on Prakash Joshi Pax's video on YouTube. If you like this content, support the original creators by watching, liking and subscribing to their content.
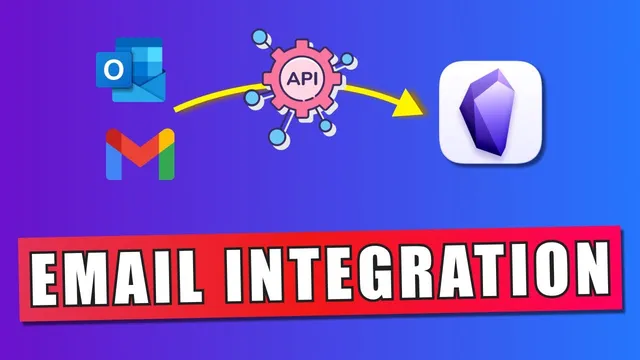
Create a Make.com scenario that starts with a “custom mail hook” to generate a dedicated email address for triggering the workflow.
Briefing
Saving incoming emails directly into an Obsidian vault is achievable by chaining three pieces together: a Make.com automation scenario, an email-to-Markdown conversion step, and an Obsidian plugin endpoint that writes files into your vault. The practical payoff is simple—messages forwarded to a custom webhook land as readable notes inside Obsidian, so they can be searched, linked, and processed alongside the rest of a knowledge base.
The workflow starts in Make.com (formerly Integromat). After signing in, a new “scenario” is created to connect apps. The first module is a “custom mail hook,” which generates a dedicated email address. Any email forwarded to that address becomes the trigger payload for the automation. Next, the scenario adds a transformation step that converts the email’s HTML content into Markdown. This matters because Obsidian works naturally with Markdown files, making the resulting notes easy to read and edit.
A third module sends the converted Markdown to Obsidian using an HTTP request. For the destination, the setup requires installing the Obsidian plugin called obsidian webhooks. The plugin needs authentication via an Obsidian sign-in token, obtained from obsidian-buffer.webapp, and then configured inside the plugin settings. Once enabled, the plugin provides a webhook URL. That URL is pasted into the Make.com HTTP module, along with a target path inside the vault (for example, a test folder and a filename like email.md). The HTTP request is configured to use POST, with a raw body and a text/plain content type.
After the scenario is assembled, it’s tested by running the scenario once and then forwarding a real email (e.g., from Ryan Holiday) to the custom mail hook address. The automation receives the forwarded message, converts it to Markdown, and posts it to the Obsidian webhook endpoint. In practice, the transfer completes quickly—reported as typically within five to six seconds. Make.com’s scenario history provides success indicators, confirming that the request was accepted and processed.
If the note doesn’t appear or won’t open in Obsidian, the transcript points to a common issue: the file extension. The webhook path must include the correct filename format (such as email.md). Without the .md extension, Obsidian may not recognize the file as a Markdown note.
Once configured correctly, the result is a new note created under the specified folder in the Obsidian vault—containing the forwarded email content in Markdown form. From there, the email can be read and processed like any other Obsidian note. The setup is summarized as: create a Make.com account and scenario, add a custom mail hook plus an HTML-to-Markdown module, send the result via an HTTP request to the obsidian webhooks plugin endpoint, then forward emails to the generated custom mail hook address to automatically store them in Obsidian.
Cornell Notes
The setup uses Make.com webhooks to route forwarded emails into an Obsidian vault as Markdown notes. A Make.com scenario starts with a “custom mail hook” that provides a dedicated email address; forwarding messages there triggers the automation. The email’s HTML is converted to Markdown, then sent via an HTTP POST request to the obsidian webhooks plugin endpoint. After installing and authenticating the plugin (using an Obsidian sign-in token), the HTTP request writes a file into a chosen vault path. Correct filenames—including the .md extension—ensure Obsidian recognizes and opens the created note.
How does Make.com turn an email into an automation trigger?
Why convert email HTML into Markdown before sending it to Obsidian?
What role does the HTTP module play in writing files into the vault?
How does the obsidian webhooks plugin authenticate and know where to save notes?
What common mistake prevents the created note from opening in Obsidian?
Review Questions
- What modules are required in Make.com to forward an email into Obsidian as a Markdown note?
- Where does the obsidian webhooks plugin webhook URL come from, and what token is needed to authenticate it?
- Why is including the .md extension in the target filename important for Obsidian to open the saved note?
Key Points
- 1
Create a Make.com scenario that starts with a “custom mail hook” to generate a dedicated email address for triggering the workflow.
- 2
Add an HTML-to-Markdown conversion step so the saved content becomes a Markdown note suitable for Obsidian.
- 3
Use an HTTP POST module to send the Markdown payload to the obsidian webhooks plugin endpoint.
- 4
Install and enable obsidian webhooks in Obsidian, then authenticate it using an Obsidian sign-in token from obsidian-buffer.webapp.
- 5
Configure the HTTP request to write to a specific vault path and filename, including the .md extension (e.g., email.md).
- 6
Forward incoming emails to the custom mail hook address to automatically create new notes in the Obsidian vault within seconds.
- 7
Use Make.com scenario history to confirm the request was accepted and successfully processed.