How to Progressively Summarize a Digital Note
Based on Tiago Forte's video on YouTube. If you like this content, support the original creators by watching, liking and subscribing to their content.
Build notes in layers: raw highlights first, then bolding, then yellow highlighting to progressively increase selectivity.
Briefing
Progressively summarizing a digital note works by adding structure in layers—first capturing highlights, then selectively bolding the most meaningful fragments, and finally applying a second, more selective layer of yellow highlighting. The payoff is a note that becomes easier to scan and reuse over time, while each pass gets faster because the process narrows attention instead of re-reading everything from scratch.
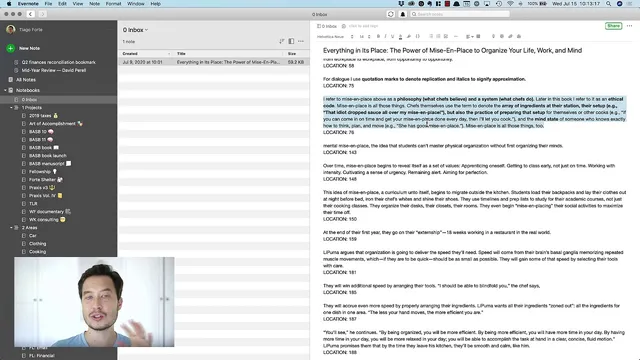
The method starts with “layer zero” (the original book) and “layer one” (the exported highlights from an e-book into a notes app). The first active pass, “layer two,” is about bolding. Instead of trying to analyze every paragraph, the approach is deliberately lightweight: for each paragraph, the reader asks what the main point is, then bolds only what feels most original, surprising, or useful—anything that deserves to be “upgraded” to a higher tier. If a paragraph contains advice that feels like generic common sense, it stays unbolded; the goal is to avoid turning the note into a wall of sameness. The result is a curated set of bold phrases that act like search-friendly anchors for later work.
A second pass, “layer three,” adds yellow highlights, but only on top of what was already bolded. This is a key constraint: yellow is not applied to everything, and it’s not meant to reproduce the same selection again. The reader highlights only the parts that “jump out” as especially actionable or memorable—often short concepts, definitions, or vivid details that can trigger recall later. The process is manual and intentional (for example, selecting just the relevant clause rather than the whole sentence), because the point is to create future-facing bookmarks: small enough to be noticed quickly, specific enough to carry context.
Time efficiency is treated as a feature, not an afterthought. Reading the book takes hours, the first pass of bolding takes roughly 1–2 hours, and later passes shrink dramatically—often down to 20–30 minutes and then around 5 minutes per pass. The logic is that each iteration focuses on a smaller subset of text, so the work compounds rather than repeats.
The workflow also addresses a practical snag: e-book highlight exports can truncate content if too much is highlighted at once. When truncation happens, the notes app shows “three dots” indicating missing text. The workaround is to use the Kindle app’s location-based navigation to retrieve the missing segments and stitch them back in, while the underlying lesson is to avoid huge highlight blocks in the first place.
Finally, the process is designed to be usable in real life. After the computer-based bolding pass, the yellow-highlighting pass can be done on an iPad in low-attention moments—described like “knitting” while traveling or waiting—using a synced notes app so edits appear automatically. The end state is a note that already contains value after the first pass, even if the full summarization never gets finished, because the bold layer alone creates a meaningful, reusable structure.
Cornell Notes
Progressive summarization turns raw e-book highlights into a structured note through multiple passes. Layer zero is the original book; layer one is exported highlights; layer two adds bolding for only the most distinctive, useful fragments; layer three adds yellow highlights even more selectively, working only from the bolded text. Each pass gets faster because attention narrows to a smaller subset, and the note becomes easier to scan and reuse later. The method also includes practical handling of Kindle export truncation by using location-based navigation to recover missing text, while emphasizing that large highlight blocks should be avoided.
What does “progressive summarization” mean in practice, and why use layers instead of one final summary?
How does the bolding pass decide what to keep versus skip?
What’s the purpose of yellow highlighting, and how is it different from bolding?
Why does the process get faster over time?
What happens when Kindle exports truncate highlights, and how can the missing text be recovered?
How can the method fit into everyday routines?
Review Questions
- When deciding what to bold in layer two, what criteria determine whether a fragment is “upgraded” or left unbolded?
- How does restricting layer three to only the bolded text change both the quality of the highlights and the time required?
- What steps are used to recover truncated Kindle highlight exports, and what underlying behavior should be avoided to prevent truncation?
Key Points
- 1
Build notes in layers: raw highlights first, then bolding, then yellow highlighting to progressively increase selectivity.
- 2
Bold only what feels distinctive or actionable; skip generic common-sense advice even if it’s relevant.
- 3
Apply yellow highlights only to the bolded text, and select small, recall-triggering fragments rather than whole paragraphs.
- 4
Expect later passes to be much faster because each pass reviews a smaller subset of text.
- 5
Avoid exporting overly large highlight blocks from Kindle (around the 10% guideline) to prevent truncation.
- 6
If truncation occurs, use Kindle app location numbers to retrieve missing sentences and stitch them back into the note.
- 7
Use synced notes apps so the “computer pass” and “iPad pass” can happen in different contexts without extra export work.