Important Settings for Google Scholar Profile/ID| eSupport for Research | 2022 | Dr. Akash Bhoi
Based on eSupport for Research's video on YouTube. If you like this content, support the original creators by watching, liking and subscribing to their content.
Use the edit icon next to the name to update titles, affiliation, and research interests on a Google Scholar profile.
Briefing
Google Scholar profiles don’t always update automatically when researchers change institutions or when specific records—especially patents—aren’t picked up by the system. The practical fix is to use the profile’s edit controls to update affiliation and verify a new institutional email, then manually add missing publications and patent details so citations and h-index reflect the complete record.
Editing starts with the profile page’s edit icon next to the name. From there, researchers can adjust name formatting (e.g., adding titles like Dr. or Mr.), update affiliation to match a new organization, and refine research interests. Google Scholar also limits the number of “area of interest” entries, with the transcript noting a cap of roughly four to five research areas.
Changing the institutional email is handled through verification. After entering the new email address and saving, Google Scholar sends a verification link to that inbox. Once the link is confirmed, the updated email becomes associated with the profile—an important step when the goal is to connect the profile to a new workplace and ensure future updates align with the correct contact.
The transcript also highlights a privacy toggle: keeping a profile private prevents the profile picture from appearing, while making the profile public triggers the photo to show. This matters for researchers who want to finish curating their record before it’s visible to others.
For publications, the edit page provides multiple ways to add papers. Researchers can select from already-detected items (including group-based selection) or add entries manually. Manual addition requires filling in structured bibliographic fields such as title, publication date, journal or publisher, volume, issue, and page information, then saving the record. There’s also a setting that controls whether newly published items appear automatically or require review before they’re shown on the profile; the transcript describes an option to require confirmation so items only appear after review.
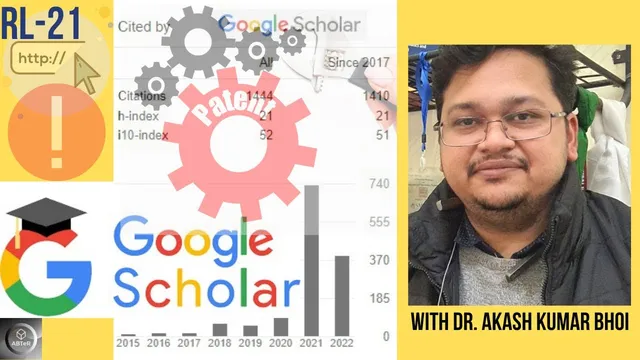
A key focus is patents, which often require manual entry. Researchers can add patent records by entering the patent title, inventor name, publication/application date, and the relevant patent jurisdiction (the transcript gives examples like Indian patents). For patents in a “published” stage, the application number is used when a number may not yet be generated. Once saved, the patent should appear when searching the profile, and adding these records can increase total citations if the items attract citations.
Finally, the edit workflow extends beyond papers and patents: co-author lists can appear after some time, and missing co-authors can be added manually. The overall takeaway is straightforward: keep affiliation and email verified, use selection tools for detected papers, and rely on manual entry—especially for patents and other non-standard records—to ensure the profile’s citation metrics reflect the full body of work.
Cornell Notes
Google Scholar profiles can lag behind real-world changes like switching institutions and can miss records such as patents. Updating the profile requires using the edit controls to change name details, affiliation, research interests, and—crucially—verifying a new institutional email via a link sent to that inbox. Publications can be added either by selecting from detected items or by entering full bibliographic details manually, with an option to require review before new items appear. Patents often need manual entry using fields like title, inventor, publication/application date, jurisdiction, and application number for newly published items. Completing these steps helps ensure citations and h-index reflect the researcher’s complete output.
How does a researcher update the institutional email on a Google Scholar profile, and why does verification matter?
What are the main ways to add publications to a Google Scholar profile?
How can a researcher control whether newly found papers appear automatically or require review?
Why are patents treated differently, and what fields are needed to add a patent record?
What happens when a profile is kept private versus made public?
Review Questions
- What steps are required to verify a new institutional email on a Google Scholar profile before it can be used reliably?
- When should a researcher choose manual entry for publications or patents instead of relying on automatic detection?
- Which bibliographic fields are necessary for manually adding an item, and how does that differ from adding a patent record?
Key Points
- 1
Use the edit icon next to the name to update titles, affiliation, and research interests on a Google Scholar profile.
- 2
Changing an institutional email requires saving the new address and completing email verification via a link sent to that inbox.
- 3
A privacy setting controls whether the profile picture appears; making the profile public enables the photo to show.
- 4
Publications can be added by selecting from detected items or by manually entering bibliographic fields like title, date, journal/publisher, volume, issue, and pages.
- 5
A review/confirmation setting can prevent newly detected items from appearing automatically on the profile.
- 6
Patents often need manual entry, including jurisdiction and application number for newly published patents where a final number may not yet exist.
- 7
Co-author information may populate after some time, but missing co-authors can be added manually in the edit page.